
How to Make Homemade Breakfast Pretzels
Crafting the Perfect Soft and Chewy Morning Treat
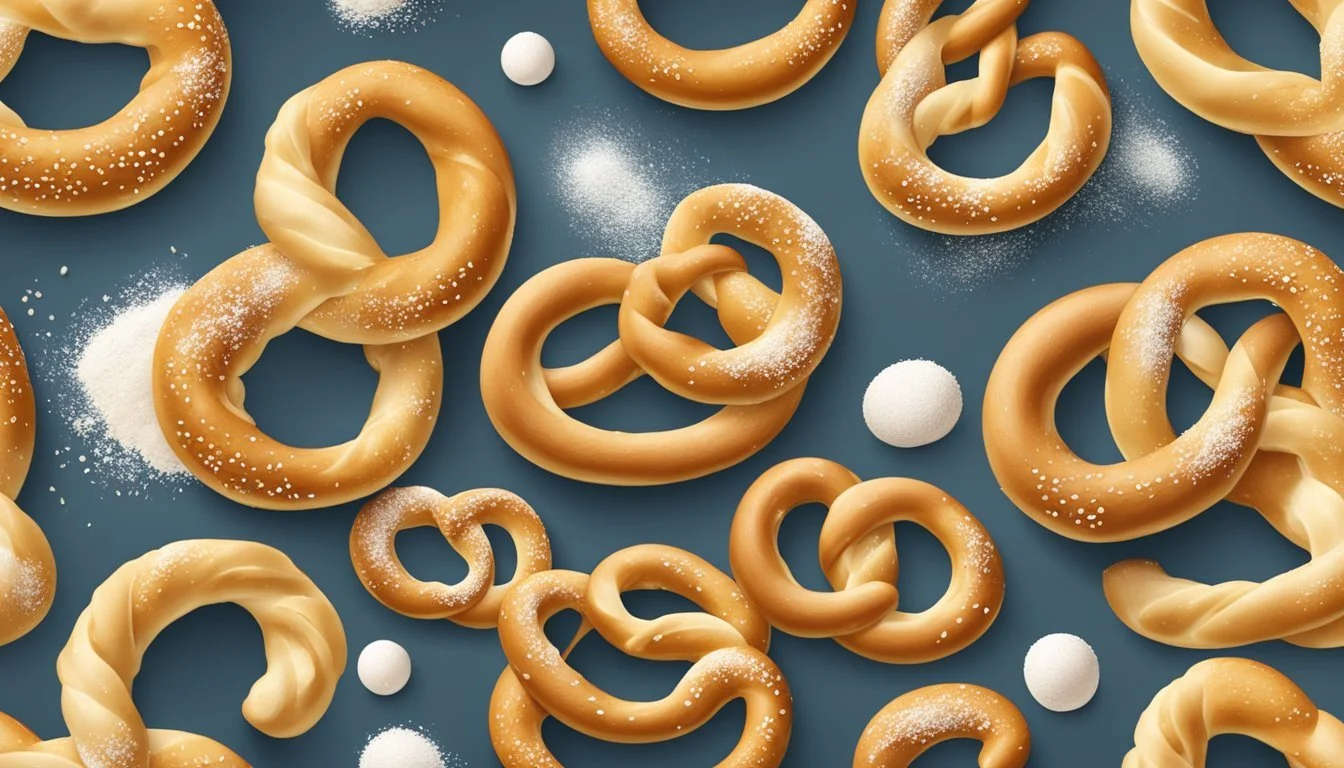
Homemade soft pretzels bring the irresistible aroma and chewy satisfaction of bakery-fresh pretzels right into one's kitchen. They are a versatile treat, perfect as a hearty breakfast option or a savory snack throughout the day. The process of making them involves creating a yeast dough, which is essential for achieving the characteristic soft and fluffy texture inside, with a slight crisp on the outside. It starts with combining the right proportion of ingredients, allowing the dough to rise to develop flavors, and kneading it to develop the gluten, which contributes to the pretzels' chewy texture.
Shaping the dough into the classic pretzel twist might seem daunting at first, but with a little practice, it becomes an enjoyable part of the baking process. Once shaped, the pretzels take a quick dip in a boiling water and baking soda solution. This step is key to producing the unique chewy exterior and helps the pretzels attain the deep golden-brown color upon baking.
Laid out on a lined baking sheet and finished with a sprinkle of coarse salt, these homemade breakfast pretzels bake to perfection. When they're pulled from the oven, soft and fresh, with a beautiful texture contrast between the chewy interior and the slightly crisp crust, the effort put into making this classic snack from scratch feels very much worthwhile.
Preparing the Dough
In crafting the perfect breakfast pretzel, the foundation lies in preparing a quality dough, which involves sourcing the right ingredients, proper mixing and kneading techniques, and ensuring the right conditions for the dough to rise.
Choosing the Right Ingredients
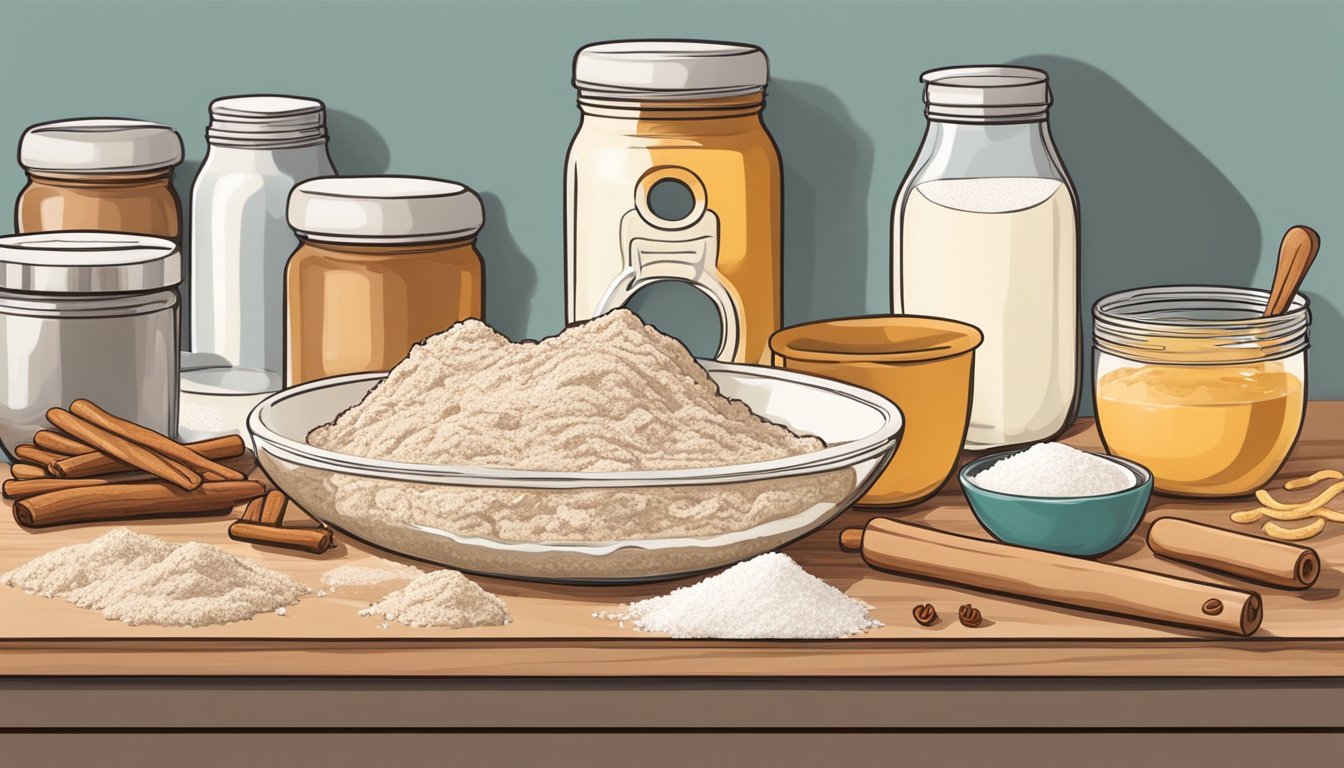
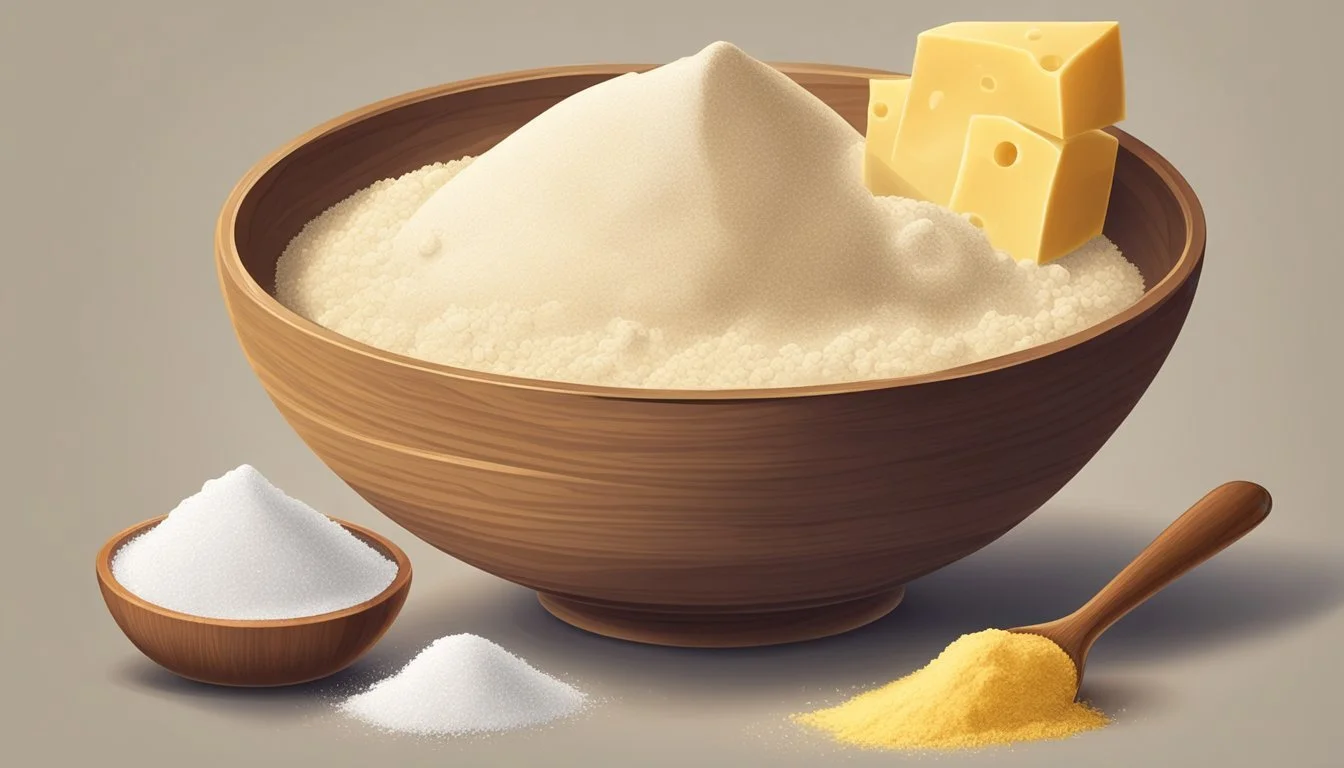
Flour: Soft pretzel dough requires a strong foundation, and that begins with all-purpose flour. This flour provides the necessary gluten structure to produce a chewy texture.
Yeast: Quality matters when it comes to yeast, as it affects the rise of the dough. Active dry yeast or instant yeast can be used. Regardless of choice, the expiration date on the yeast package must be checked to ensure it's still active.
Sugar: A small amount of sugar is not only for taste; it also helps to 'feed' the yeast, encouraging activation and growth.
Warm Water: The temperature of the water should be around 110°F (43°C) to optimally activate the yeast without killing it.
Mixing and Kneading the Dough
Combine the active dry yeast with the warm water and sugar, stirring it until the mixture becomes frothy, indicating the yeast is active. Gradually add the all-purpose flour to the mixture, stirring until a dough begins to form.
To achieve a soft yet chewy texture, kneading is essential. This can be done by hand or with a stand mixer fitted with a dough hook. The dough should be kneaded for about 5 to 7 minutes until it is smooth and elastic.
Letting the Dough Rise
The dough's rise is a pivotal step. Place the dough in a lightly oiled bowl, cover it with a clean cloth, and let it rise in a warm, draft-free place. The ideal temperature for rising dough is between 75°F (24°C) and 85°F (29°C). Humidity also plays a role here; dough rises best in a slightly moist environment. The dough should be allowed to rise until it doubles in size, which typically takes about an hour.
Shaping the Pretzels
Shaping is a crucial step in creating the perfect breakfast pretzel, ensuring both the classic look and the desired texture. Proper technique yields a soft and chewy experience.
Forming the Classic Pretzel Shape
To begin, one should knead the dough until it's smooth and passes the windowpane test, indicating that the gluten is well-developed. A well-kneaded dough leads to pretzels with the right chewiness. After the dough has rested, one divides it into equal portions. Each piece is then rolled into a long, thin rope, about 18 to 24 inches in length, depending on the desired size of the pretzels.
A traditional pretzel shape is created by following these steps:
Shape the rope into a U-shape.
Cross the ends over each other twice to create a twist.
Fold the twisted end back towards the bottom of the U, gently pressing the ends into the dough to secure.
Ensure that the loop is sufficiently large to maintain the pretzel shape during the baking process, as it will puff up.
Alternative Shapes and Sizes
For those who prefer variety, pretzel dough can be easily fashioned into different forms. Here are some options:
Pretzel Bites: Cut the rolled dough into small segments using a sharp knife. This results in bite-sized pieces ideal for snacking.
Dinner Rolls: Instead of elongating the dough, divide it into pieces and roll each into a ball, providing a more bread-like experience.
One may also experiment with different sizes, adjusting the length and width of the dough ropes before shaping. However, it is essential to keep the thickness relatively consistent to ensure even baking and a uniformly soft, chewy texture.
The Boiling Process

The boiling process is a critical step in making homemade breakfast pretzels, as it directly impacts their texture and taste. This step involves immersing the pretzel dough in a hot baking soda bath. This process is what gives the pretzels their distinct chewy crust and helps them to puff up in the oven.
Creating the Baking Soda Bath
To create the bathing solution for pretzels, bring a large pot of water to a rolling boil. The typical ratio used is 1/2 cup of baking soda to 9 cups of water. Dissolving the baking soda completely in the boiling water forms a highly alkaline solution. The alkalinity of the baking soda bath is what contributes to the characteristic browning of the pretzel crust during baking.
Once the baking soda is fully dissolved and the water is boiling, carefully lower the pretzels into the pot using a slotted spoon or spatula to maintain their shape. It's important to boil the pretzels one or two at a time to avoid crowding and ensure an even cooking process. Pretzels should be fully submerged for 30 seconds on each side to react with the baking soda solution. During this step, the exterior of the pretzel begins to gelatinize, leading to the signature chewy texture once baked.
After boiling, remove the pretzels from the pot, allowing excess water to drip off before transferring them to a baking sheet. This also prevents the pretzels from becoming soggy. The pretzels are now ready for the next step, which will typically involve an egg wash and topping before baking to a golden brown perfection.
Baking and Topping
In the final stages of preparing breakfast pretzels, the baking process and the choice of toppings are crucial for achieving a soft, chewy texture with a perfectly seasoned and appealing finish.
Achieving the Perfect Bake
For a soft and chewy pretzel, one must first preheat the oven to alleviate any temperature inconsistencies that could affect the bake. Generally, an oven temperature set between 400-450 degrees Fahrenheit is ideal to ensure that the pretzels cook through without becoming hard. A baking sheet should be lined with parchment paper to prevent sticking; if parchment is unavailable, a light coat of nonstick cooking spray can be used instead. After shaping, the pretzels are dipped into a baking soda solution—a boiling mixture of water and baking soda—for about 20-30 seconds, which is essential for developing the characteristic golden brown crust after baking.
Before placing the pretzels in the oven, they should be brushed with an egg wash to give them their distinct sheen and help toppings adhere. The baking time generally ranges from 12 to 15 minutes or until they've achieved a deep golden brown hue.
Selecting Toppings and Seasonings
Once the egg wash is applied, one can add an array of toppings and seasonings to enhance flavor and texture:
Salt: A generous sprinkling of coarse sea salt, pretzel salt, or kosher salt is traditional and offers a savory punch.
Seeds: For added crunch, one might opt for sesame seeds or poppy seeds.
Seasoning blends: Everything bagel seasoning is a popular choice and adds a complex flavor profile.
Cheese: Freshly grated parmesan cheese can be distributed on top for a sharp, cheesy note.
To adhere these toppings effectively, it is important to apply them immediately after the egg wash so they stick to the surface. Upon finishing with toppings, the pretzels are ready to be baked to perfection, resulting in a soft, chewy treat with a burst of flavor from one's chosen seasonings.
Serving and Storage

When enjoying homemade breakfast pretzels, pairing options and proper storage techniques are essential to maintain their soft, chewy texture and to enhance their flavors. Ensuring that these pretzels are stored correctly will help retain their nutrition and taste.
Pairing with Dips and Sauces
A variety of dips and sauces can elevate the taste of homemade pretzels. Traditional options include mustard and honey mustard, which offer a tangy complement. For those who enjoy richer flavors, a warm cheese sauce or robust beer cheese dip can be delightful. Spicy nacho cheese sauce provides a kick for spice enthusiasts, while ranch dressing can add a creamy and herby note. These pairings can add extra calories and fat but also can enhance the protein content, especially with cheese-based sauces.
Storing Leftover Pretzels
Storing leftover pretzels requires attention to detail to maintain their quality. Pretzels should be stored at room temperature in an airtight container; they can retain their softness for up to two days. For longer storage, refrigerate them for up to a week. Refrigerating can affect texture, so reheating in the oven until warmed through is recommended. Homemade pretzels are not just vegetarian-friendly, they are also a make-ahead item that can offer fiber and additional nutrition for breakfast on the go. For optimal storage and to prevent sogginess, one must ensure that pretzels are completely cool before stashing them away.
Nutritional Information
A typical homemade breakfast pretzel, considered a vegetarian item, consists of a mixture of flour, water, sugar, salt, and yeast, and often includes a baking soda bath and a final topping of coarse salt. Nutritional content can vary based on the exact ingredients and portion sizes used. Here's a general breakdown of what one can expect:
Calories: A standard homemade soft pretzel contains approximately 200 to 250 calories, which can be a reasonable part of a balanced breakfast.
Protein: Each pretzel generally offers around 5 to 6 grams of protein, contributing to muscle repair and growth.
Fat: These pretzels are typically low in fat, with around 1 to 2 grams per serving, unless additional toppings or fillings are added.
Fiber: Made primarily with refined flour, they are not a significant source of dietary fiber, providing less than 1 gram per pretzel.
For those with specific dietary requirements:
Gluten: Since the main ingredient is wheat flour, traditional pretzels are not gluten-free. However, gluten-free flour alternatives can be used for those with sensitivities or celiac disease.
Nutrition: While they provide quick energy and satiation due to their carbohydrate content, homemade breakfast pretzels should ideally be paired with other foods, such as a source of healthy fats or fruits, to create a more nutritionally diverse meal.
It is important for consumers to be mindful of portion sizes, and for those with dietary restrictions, to adjust the recipe accordingly to meet their needs.
Tips and Tricks for the Perfect Soft Pretzels
Crafting the perfect homemade breakfast pretzels requires an understanding of the dough's fermentation process and some insightful troubleshooting techniques. Modifying the basic recipe allows for an enjoyable custom pretzel experience.
The Role of Yeast and Proper Fermentation
Yeast is essential in bread-making, responsible for the rise and fermentation of the dough. For soft pretzels, one should use active dry yeast rehydrated in warm water to activate it. The mixture should froth, indicating good yeast health. If using instant yeast, one can skip the proofing step and mix it directly with the flour. Ensuring the dough is kept at an optimal temperature for the yeast to work is critical. Ideal conditions are warm but not too hot, as excessive heat can kill the yeast.
The windowpane test is a reliable method to check gluten development: stretch a piece of dough until thin enough to let light pass through without tearing. This indicates that the dough has been kneaded sufficiently and is ready for the rise. The dough should double in size during fermentation, which can be hindered by low humidity or drafts in the environment.
Yeast Activation: Proof active dry yeast in warm water, look for froth.
Optimal Temperature: Keep dough around 75-78°F (24-26°C) for best results.
Windowpane Test: Stretch a small piece of dough to ensure it's ready for fermentation.
Troubleshooting Common Issues
Soft pretzels can present challenges, but most are easily rectified. Dough that doesn't rise might indicate that the yeast has expired or the environment was too cold. Always check the expiration date of the yeast before beginning. If the pretzels come out hard instead of chewy, it's often a sign of over-kneading the dough or not boiling them long enough in the baking soda bath. Stick to the recommended 20-30 second interval to achieve a chewy texture.
Unrisen Dough: Check yeast expiration and maintain a draft-free, warm environment.
Hard Texture: Avoid over-kneading and ensure a proper baking soda boil for chewiness.
Customizing Your Pretzels
Basic soft pretzel recipes are a canvas for creativity. One can tailor them to personal tastes by adding different toppings like cinnamon sugar for a sweet twist. A simple dough made from pantry staples is adaptable and can serve as the foundation for a variety of flavors.
Sweet Pretzels: Dip or brush pretzels with melted butter post-bake and sprinkle generously with cinnamon sugar.
Savory Options: Top dough with cheese, seeds, or herbs before baking for an aromatic savory twist.
Remember, whether one's preference lies in sweet or savory, the key to successful homemade pretzels is in the fermentation and handling of the dough, as well as the boiling step prior to baking.
