
How to Choose and Use a Bread Maker
Essential Tips for Fresh Homemade Bread

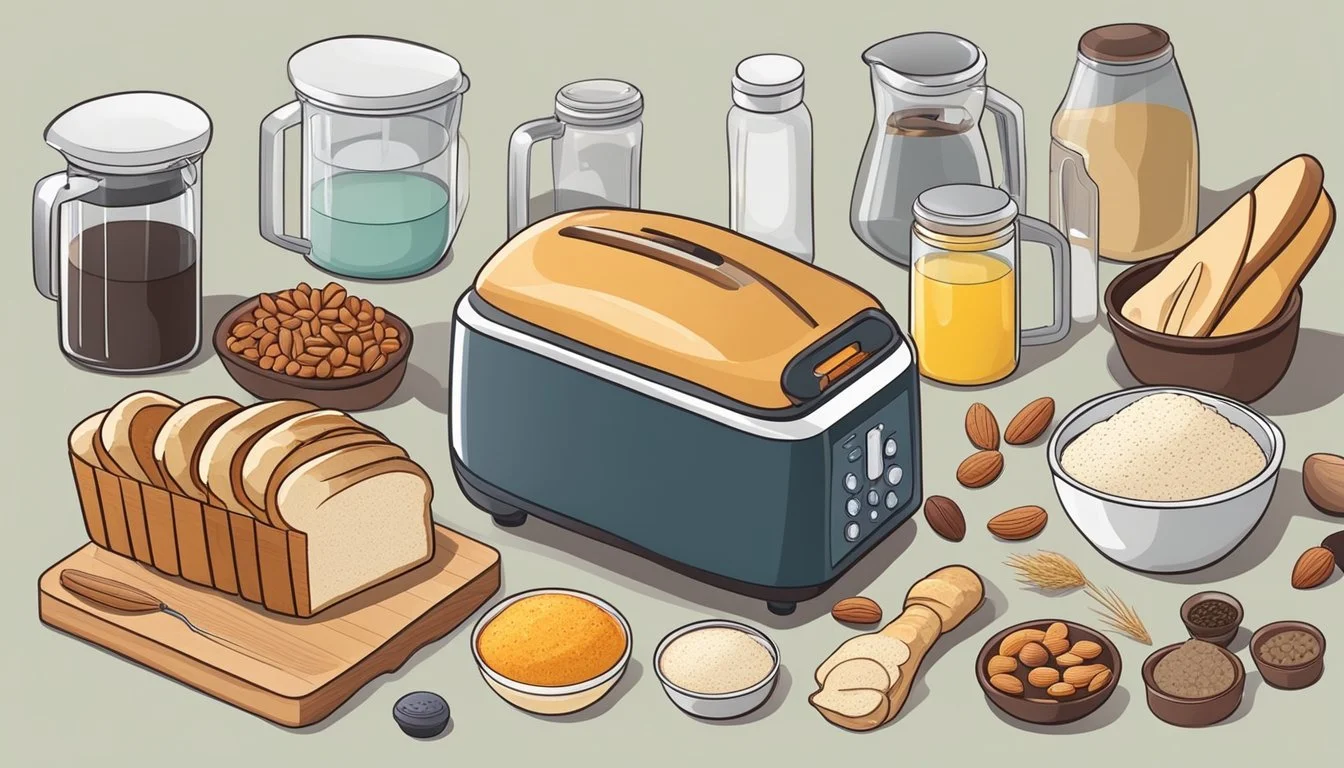
Choosing the right bread (What wine goes well with bread?) maker is a decision that merges convenience with the joy of homemade bread. The modern bread maker is a compact and user-friendly appliance that automates the bread-making process, which traditionally involves mixing, kneading, proofing, and baking. When selecting a bread maker, it's important to consider factors such as the machine's size, its capacity to match your baking needs, and the variety of settings available. These settings can range from dough types, like gluten-free or whole wheat, to specific bread shapes and crust colors.
Using a bread maker effectively begins with understanding its functionality and the role it plays in the kitchen. For example, some bread makers offer a plethora of settings for different types of bread, which provides the user with flexibility and control over the final product. Others might prioritize space efficiency, catering to those with smaller kitchens, or focus on producing perfect loaves with consistent quality. Bread makers often come with delay timers, allowing the user to set up the ingredients and let the bread bake to be ready at a specific time, adding to their overall convenience and appeal.
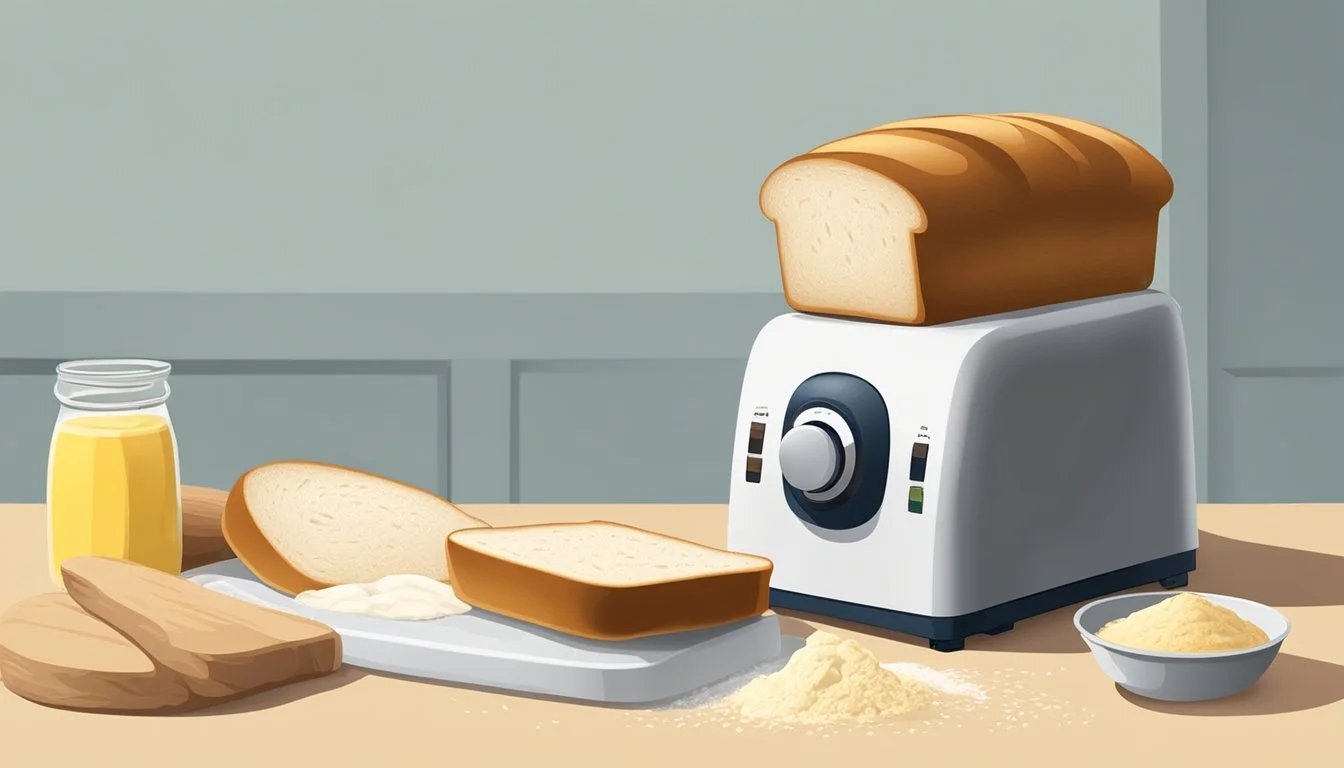
The operational aspect is pretty straightforward as the bread maker handles the tedious parts of bread making, such as kneading and fermentation. The user typically only needs to measure and add the ingredients, select the appropriate setting, and the machine does the rest. The final outcome is a freshly baked loaf that fills the kitchen with the unmistakable aroma of homemade bread, making the bread maker an invaluable asset for anyone who enjoys the taste and experience of fresh, homemade bread with minimal effort involved.
Understanding Bread Makers
Choosing and using a bread maker involves understanding the various types available and their essential features. The decision ultimately centers on one's preferences in loaf size, crust, and convenience offered by modern machines.
Types of Bread Makers
Bread makers, or bread machines, come in various designs, but most commonly they are compact countertop appliances that automate the bread-baking process. They typically consist of a bread pan with one or more kneading blades at the bottom and a heating element. There are two predominant types:
Single Bread Pans: Most include a single pan that creates a classic rectangular loaf. They often have one kneading paddle.
Dual Bread Pans: Some models offer dual bread pans for baking more than one loaf at a time or for different loaf shapes, like round or square, though these are less common.
Key Features to Consider
When evaluating bread makers, the following features are pivotal to consider:
Loaf Size: Many bread machines allow users to choose the size of the bread loaf, which can range from small to large.
Loaf Size (lbs) Description 1.0 - 1.5 Suitable for individuals or couples. 2.0 - 2.5 Ideal for families. 3.0+ Best for large households or parties.
Crust Settings: Users should look for a machine with adjustable crust settings if they have a specific preference for crust color and texture.
Crust Type Description Light A softer, lighter-colored crust. Medium A mid-range crust in texture and color. Dark A thicker, darker crust.
Delayed Start: This function allows users to add ingredients and specify when the baking should begin, which is perfect for waking up to or coming home to fresh bread.
Pre-Programmed Settings: Bread makers may come with a variety of pre-programmed settings for different types of bread like whole wheat, gluten-free, or French as well as other foods such as jams or cakes. Some even offer a rapid bake option for quicker results.
Kneading Blades: A critical component that impacts the quality of bread; some machines come with dual kneading blades for more efficient dough preparation.
Consider these features in the context of frequency of use, types of bread desired, and whether the bread maker will function as an oven replacement or a complement to traditional baking methods. Ensure the selected model fits your kitchen space, as bread makers can range from compact to quite large.
Benefits of Using a Bread Maker
Users find bread makers highly beneficial due to their convenience. These appliances handle the entire breadmaking process, which includes mixing, kneading, rising, and baking. This automated procedure eliminates manual effort and saves time, making it an excellent option for those who want freshly baked bread without significant hands-on commitment.
One of the key attractions is the consistent result. A bread maker ensures a perfect environment for the dough to rise every time, contributing to a uniform texture and crust. The user can achieve homemade bread that has a professional quality with minimal expertise required. Moreover, preparing bread at home allows control over the ingredients, enabling healthier options free from commercial additives and preservatives.
The availability of several settings in bread makers, such as crust color control and timing options, empowers users to customize their baking according to personal preference. They can enjoy fresh bread, timed perfectly for every meal.
Fresh bread is appreciated for its appetizing aroma and superior taste, which bread makers can produce without the need for a preheated oven. This not only is more energy-efficient but also adds the benefit of having warm bread available throughout the day.
In summary, bread makers offer an automated, user-friendly approach to baking that is time-saving and produces consistent, customizable quality bread. They make the entire process of breadmaking more accessible to amateurs and experienced bakers alike.
Selecting the Right Bread Maker
Choosing the right bread maker requires carefully considering the available kitchen space and comparing various brands and models to meet one's bread-making needs.
Assessing Kitchen Space
Individuals should measure the counter space available in their kitchen to ensure the new appliance fits comfortably without cluttering the area. Some bread makers, like the Cuisinart Compact Bread Maker, are designed to be smaller and more "countertop-friendly," suitable for those with limited space.
Comparing Brands and Models
When comparing bread makers, looking at a variety of brands and models is important to find the right features and quality. Here are some specifics on notable models:
Zojirushi Virtuoso Plus Bread Maker: An advanced appliance for serious bakers that offers customizable settings and the ability to handle various types of bread.
Cuisinart Compact Bread Maker: Ideal for those with space constraints. Its compact design makes it a viable option for smaller kitchens.
Oster Expressbake Breadmaker: Known for its express baking cycle that can deliver fresh bread in less than an hour.
Breville Custom Loaf Bread Maker: Stands out with its automated features and the capability to cater to different loaf sizes, which is excellent for precision and variety.
Selecting between brands like Zojirushi, Cuisinart, Oster, and Breville depends on users' specific needs, such as the loaf size, the variety of bread they intend to bake, and the ease of use each model offers. It's vital to read recent reviews and compare the latest models to make an informed decision.
Understanding Ingredients and Add-Ins
The success of bread making in a bread maker relies heavily on the precise balance and quality of ingredients and the correct incorporation of optional add-ins like nuts and fruits.
Exploring Bread Ingredients
Ingredients are the foundation of good bread. Quality and proportion are crucial. The core ingredients typically include:
Flour: The main structure of the bread. Bread flour is high in gluten and preferable for a strong dough structure, whereas whole wheat flour adds dietary fiber.
Yeast: The leavening agent. Active dry yeast should be used at temperatures between 105°F and 115°F to ensure proper activation without killing the yeast.
Salt: Enhances flavor and regulates yeast activity. Typically, a teaspoon per loaf is sufficient.
Water: Temperature is key; it should be warm but not too hot to touch (ideally between 105º and 110ºF) to activate the yeast without damaging it.
Sugar: Feeds the yeast and adds flavor. It can come from white sugar, brown sugar, honey, or other sweeteners.
Oil: Contributes to the crumb's moisture and texture. Olive oil, canola oil, or butter are common choices.
It is important to add these ingredients to the bread maker in the order recommended by the manufacturer, usually with liquids first, followed by dry ingredients, and yeast last.
Incorporating Nuts and Fruits
Adding nuts and fruits can elevate the flavor profile and texture of bread:
Nuts: Walnuts, almonds, and pecans should be added chopped for even distribution. It's best to add them during the mix cycle or when the bread maker signals for add-ins.
Fruits: Dried fruits like raisins, apricots, or cranberries add sweetness and chew. They should be added similarly to nuts to avoid being crushed during the kneading process.
One should ensure that nuts and fruits are at room temperature to not affect the dough’s temperature. Also, consider tossing them in a bit of flour to prevent them from sinking to the bottom of the loaf.
Bread Making Process
Choosing and using a bread maker effectively streamlines the bread making process, allowing one to produce a variety of doughs and breads. Key steps such as kneading, temperature control, and proper timing are automated for convenience and consistency.
Preparing Dough
The most pivotal step in using a bread maker is preparing the dough. A user must add ingredients to the bread maker in a specific order, often beginning with liquids and followed by dry components, with yeast added last to prevent premature activation. The bread maker takes over to mix and knead the dough to develop gluten, which gives bread its texture and strength. The dough cycle may include periods for the dough to rise, which is crucial for forming the characteristic texture of most bread types.
For gluten-free bread, select a program designed for gluten-free baking, as it alters the kneading and rising times to compensate for the lack of gluten.
For sweet or rich breads, like brioche, additional fat and sugar require a gentler kneading cycle.
For pizza dough, a dough-only cycle is used, where the dough is removed to rise and bake outside of the machine.
Bread makers can also prepare dough for cakes and jams, with specific settings that adapt to the unique requirements of these items, such as less kneading and different mixing patterns.
Baking and Cooling Phases
Once the dough is prepared, the bread maker enters the baking phase. Temperatures are carefully controlled to ensure a perfect bake. Some bread makers feature settings for different types of bread, such as French bread, sweet bread, or sourdough, handling the variations in the baking cycle required for each.
French bread typically demands a crisp crust and a longer bake.
Sweet bread may require lower baking temperatures to prevent the sugars from burning.
Sourdough might have a longer rise time to develop its distinctive tangy flavor.
The baking cycle is followed by a cooling phase, allowing the bread to settle, which is crucial for the bread's structure. It also prevents condensation from making the bread soggy. Users should remove the bread from the machine once cool enough to handle but also give it time to cool completely on a wire rack before slicing.
In terms of speed, many bread makers offer a rapid bake option for quicker results, though typically at the cost of some texture and flavor quality. The kneading blade often remains in the loaf after baking, and users should remove it gently to preserve the loaf's structure.
Custom and Pre-Programmed Settings

Bread makers offer a range of settings to cater to various dietary needs and schedules. Understanding these features can help users select the right machine and bake the perfect loaf.
Gluten-Free and Special Diet Options
Modern bread makers often cater to special dietary requirements, such as gluten-free, vegan, salt-free, sugar-free, and yeast-free diets. The machines typically include pre-programmed settings for these options, ensuring the right kneading, rising, and baking cycles for each unique recipe. Users should look for bread makers that specifically list these programs to ensure compatibility with their dietary needs.
Diet Type Necessary Feature Gluten-Free Gluten-Free Setting Vegan Custom Programs for no dairy/eggs Salt-Free Ability to adjust recipes Sugar-Free Programmable sweetness control Yeast-Free Bake-only Function
Using Delay and Express Baking
A delay timer is an essential feature for individuals looking to have fresh bread at a specific time without manual intervention. One can add ingredients to the bread maker and set it to start baking hours later. The ExpressBake or quick-bread setting is designed for users wanting to reduce the time it takes to bake a loaf, providing fresh bread in under an hour. Additionally, some bread makers include a jam function, which is a bonus for those who want to create homemade spreads.
Delay Timer: Set your bread to be ready when you are.
ExpressBake: For a loaf in about an hour.
Jam Function: An extra feature for making spreads.
In summary, bread makers with a variety of custom and pre-programmed settings enhance the bread-making experience, accommodating special diets and busy lifestyles.
Cleaning and Maintenance
Proper cleaning and maintenance of a bread maker extend its lifespan and ensure the quality of bread produced. They should clean it after each use to prevent the accumulation of crumbs and burnt-on residue, which can affect the taste and performance of the machine.
Daily Cleaning Steps:
Crumb Removal: After each use, unplug the machine and let it cool down. Tip the bread maker on its side and gently brush out crumbs from the interior using a soft, dry brush.
Paddle Care: Remove the kneading paddle and soak it in warm, soapy water to loosen any dough remnants. Rinse well and dry before reattaching.
Nonstick Pan: Take out the nonstick pan and wash it with warm, soapy water, using a nonabrasive sponge or microfiber cloth to protect the coating. Avoid metal utensils or scouring pads since they can scratch the surface.
Weekly Maintenance:
Deep Cleaning the Oven Chamber: To reach residual flour or stuck-on dough, use a slightly damp cloth or a soft brush. One should never introduce water directly into the oven chamber to preserve the electrical components.
Inspect the Seals and Gaskets: Check for food particles stuck in the seals or any signs of wear. Wipe them gently with a damp cloth if necessary.
Occasional Tasks:
It's vital to inspect the heating element for debris occasionally. However, one must exercise caution and ensure the machine is unplugged and completely cool.
The exterior can typically be wiped down with a slightly damp cloth, followed by a dry towel to keep the bread maker looking its best.
To maintain performance, they should follow the manufacturer's instructions regarding the replacement of parts like the kneading blade and the nonstick pan as they accumulate wear over time.
Troubleshooting Common Issues
When using a bread maker, users may encounter issues that affect the quality of their bread. Identifying and resolving these common problems ensures consistently good results with each bake.
Dense or Unevenly Baked Bread
Causes and Fixes for Dense Bread:
Incorrect Flour Type: Use bread flour, which is high in gluten, to give structure and support for a lighter loaf.
Expired Yeast: Ensure yeast is fresh as old yeast can result in a dense loaf.
Inadequate Rising Time: Allow the dough to rise sufficiently; a rush in this process can lead to dense bread.
Temperature Fluctuations: Keep the bread maker in a place with a stable temperature; extreme changes can affect the rise.
Causes and Fixes for Unevenly Baked Bread:
Pan Size: Verify that the bread pan is appropriate for the recipe, which helps in even heat distribution.
Kneading Issue: Check dough consistency during kneading; add liquid or flour as needed to achieve a smooth, elastic dough.
Machine and Dough Problems
Common Machine Problems:
Power Issues: If the machine stops during baking, check the power cord and the outlet for a secure connection.
Non-stick Coating Damage: Avoid using abrasive cleaners or placing the pan in a dishwasher, as it can damage the coating.
Dough Related Problems:
Improper Ingredient Ratios: Measure ingredients precisely; incorrect amounts can affect dough quality.
Yeast Activation: Make sure the liquid ingredients are at the correct temperature to activate the yeast without killing it.
By addressing these specifics, users can greatly enhance their experience with a bread maker, leading to the perfect loaf of basic bread with a desirable texture and rise.
Bread Maker Accessories and Extras
Investing in the right accessories can significantly enhance the bread-making experience, enabling one to customize the process and the results with ease and precision. From specialty baking pans to essential cutting tools, each accessory plays a crucial role.
Using Additional Baking Pans
Bread makers typically come with a standard rectangular baking pan, but additional pans can be used to expand the variety of bread shapes and sizes one can create. For instance, some bread makers offer the option to bake round or even square loaves. It's essential to ensure that the additional baking pans are compatible with the bread maker in terms of size and shape. When considering loaf size, options may vary from 1-pound to 2.5-pound capacities. Some bread makers may also have an automatic dispenser for adding ingredients like nuts or fruits at the correct time during the kneading process.
Compatible Baking Pan Sizes:
1 pound
1.5 pounds
2 pounds
2.5 pounds
Additional Baking Tools
Aside from the baking pan, a few other tools are critical in achieving the perfect loaf of bread:
Measuring Tools: Precise measuring is non-negotiable in bread making. One needs cups and spoons for measuring various ingredients accurately.
Bread Knives: A serrated bread knife is indispensable for slicing freshly baked loaves without crushing their delicate texture.
Stand Mixer: Some bakers may use a stand mixer with a dough hook for initial kneading before transferring the dough to the bread maker for rising and baking.
Automatic Dispenser: Certain models of bread makers come with an automatic dispenser that adds specific ingredients at the optimum time during the mixing process.
Essential Tools List:
Measuring cups and spoons
Serrated bread knife
Stand mixer (optional for kneading)
Automatic ingredient dispenser (if not included with the bread maker)
Beyond Bread: Other Uses for Your Bread Maker

A bread maker can be a versatile kitchen appliance, not limited to just bread. With the right settings, one can whip up an array of treats from jams to cakes.
Making Jams and Non-Bread Recipes
Bread makers often come with a Jam setting, making them suitable for creating homemade jams. Users simply add the fruit, sugar, and necessary acids like lemon juice, then let the bread maker handle the stirring and heating. Here's a quick guide on making jam in a bread maker:
Ingredients:
Fruit (e.g., berries, apples)
Sugar
Lemon juice or other citric acid, if needed
Steps:
Prepare the fruit by cutting it into small pieces or grating it, as required.
Place the fruit in the bread pan.
Add sugar and lemon juice to the pan.
Select the Jam setting and start the program.
This function is not limited to jam; it can also be used for crafting fruit compotes, apple sauce, and other concentrated fruit creations.
Creative Baking with a Bread Maker
Aside from traditional bread, a bread maker can be a tool for creative baking. Here are some examples of what can be made:
Cakes: Choose the cake program for a fully mixed and baked cake. Users mix the wet and dry ingredients separately before pouring them into the bread maker.
Pizza Dough: For pizza enthusiasts, the dough setting is a boon. After the dough is mixed and risen, it’s ready to be rolled out and topped with favorite ingredients.
Sourdough: The bread maker can mix and proof sourdough, which is then shaped and finished in a conventional oven for that classic crust.
Cinnamon Rolls: After using the dough setting for mixing and proofing, roll out the dough, add the filling, cut into rolls, and either bake in the oven or return to the bread maker for baking if such a setting is available.
By understanding the array of settings and programs available on their bread maker, users can expand their baking repertoire far beyond standard loaves of bread.
Recipes and Inspiration
Navigating the vast array of bread machine recipes can be exciting for a home baker. They’ll find sources ranging from dedicated recipe books to a plethora of online forums offering a multitude of bread options, from classic whole grain bread to sweet bread varieties.
Recipe Books and Online Resources
A good recipe book specifically for bread machines is indispensable. These books not only provide tried and tested recipes but also offer essential tips for making bread at home. For instance, a baker may select "Our 29 Best Recipes for Your Bread Machine" from The Spruce Eats for a comprehensive guide. In addition, numerous online platforms like Salad in a Jar offer unique recipes such as "Alabama Orange Rolls," which can be an excellent resource for someone looking to bake sweet bread with their bread maker.
Recipe Book Recommendation:
Our 29 Best Recipes for Your Bread Machine – A variety of basic to advanced recipes
70 Best Bread Machine Recipes To Make You Look Like a Pro – A collection focusing on creative flavors
Online resources often include user reviews, which can help in selecting the right recipe book or individual recipe, especially for specific bread types like gluten-free loaves. Bakers are encouraged to explore such resources, bearing in mind that whole grain flours and gluten-free blends may require different settings or additional ingredients like gluten flour to improve texture.
Experimenting with Flavors and Textures
When confident with the basic recipes, a home baker might experiment with different ingredients to create unique flavors and textures. Sweet bread options can include fruits and nuts, like adding bananas and chocolate chips for a delectable Banana Chocolate Chip Bread. Gluten-free bakers can explore a variety of gluten-free flour blends for the perfect gluten-free loaf that doesn't compromise on texture.
Flavor Variations:
Fruits and Nuts: Banana Chocolate Chip, Raisin Rum Buns
Gluten-Free Options: Experiment with gluten-free flour blends and gums
Experimentation can lead to personalized recipes that may become household favorites. They are encouraged to start with small adjustments to ensure the bread machine can handle the changes, as the addition of wet ingredients like fruits can affect the dough’s consistency and, ultimately, the bread's outcome.
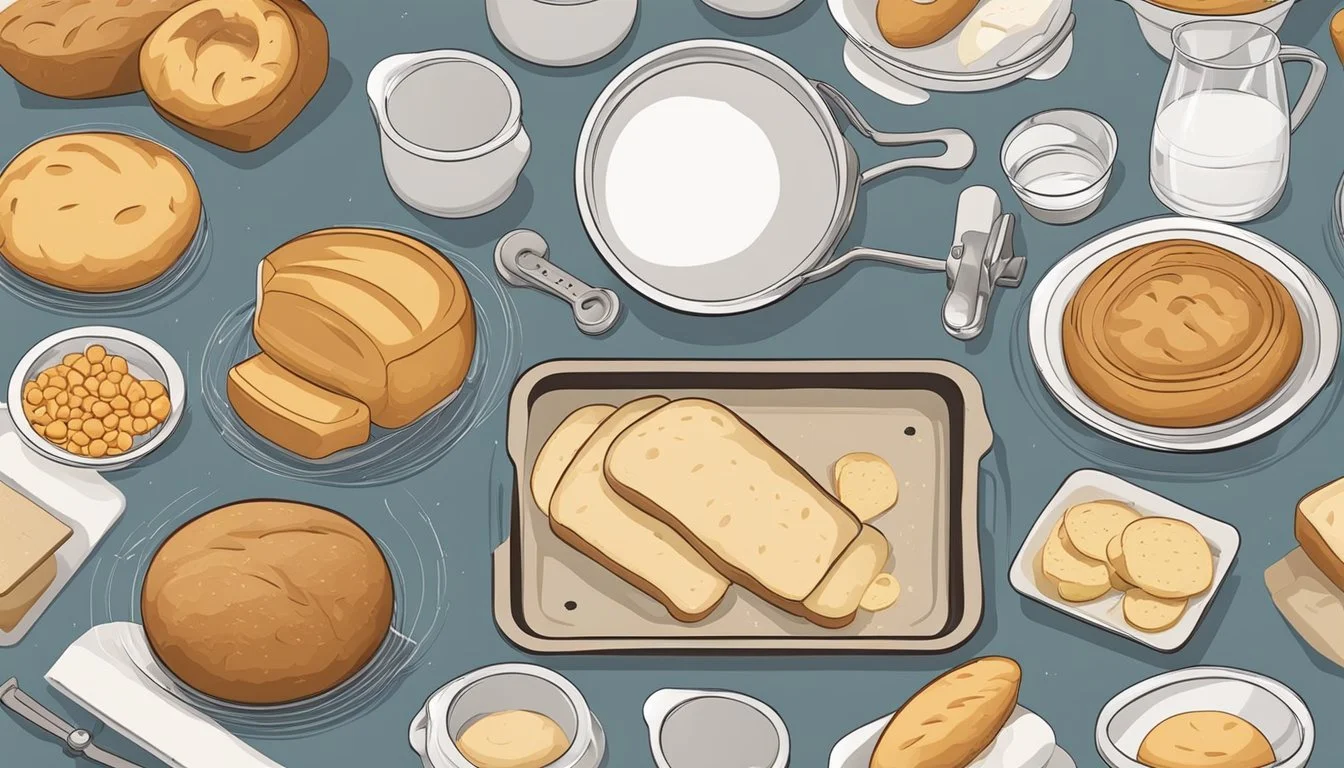
Storing and Enjoying Bread
Bread makers allow users to enjoy freshly baked bread at home. Proper storage extends freshness, while creative serving ideas can enhance one’s bread experience.
Keeping Bread Fresh
One can keep freshly baked bread fresh by storing it at room temperature for a short period – typically up to two days – in a paper bag. For extended freshness, wrapping the bread in plastic wrap or placing it inside an airtight container before freezing is recommended. Bread can thus be preserved for up to three months. Defrosting should be done slowly, either in the refrigerator overnight or at room temperature, to maintain the bread's quality.
Storage Location Method Duration Room Temperature Paper bag Up to 2 days Freezer Plastic wrap/Airtight container Up to 3 months
Bread Serving Ideas
Freshly baked bread, particularly a crusty loaf, can be served with soup to delight one's palate – it's a classic pairing. For increased convenience, a bread maker can be set to have a loaf ready just in time for mealtime with features like delayed baking times. Serving loaf sizes appropriate for the meal ensures no waste and easy second servings. Options for bread include:
Sliced: Toasted with butter or jam
Whole Loaf: Accompanied by soup or salads
Cubed: Ideal for dipping or as croutons
Experimenting with bread maker settings can yield variations in crustiness to suit different dishes and personal preferences.
