
How to Measure Dry Ingredients Accurately
Essential Tips for Baking Precision

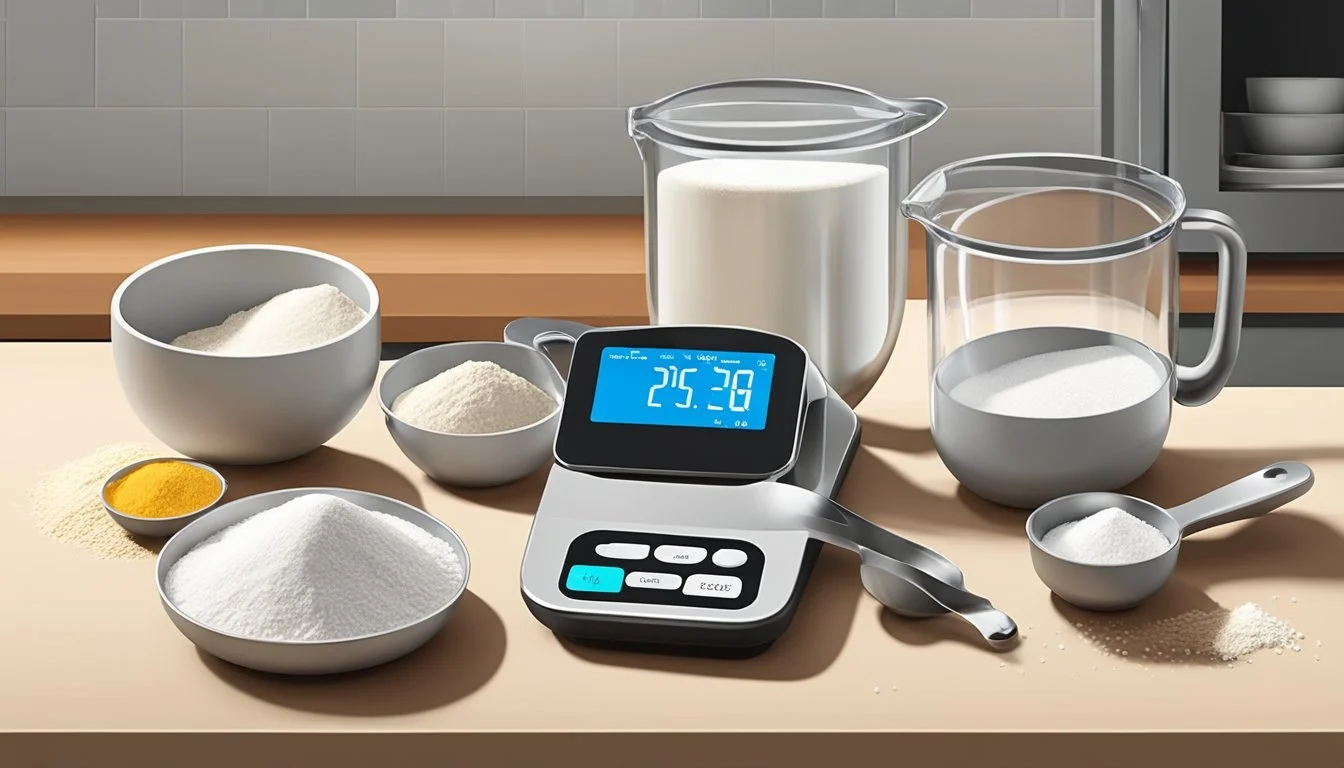
Measuring dry ingredients with accuracy is a critical step in baking and cooking that ensures consistent results. To achieve the desired outcome in recipes, precise measurements are essential. A common mistake is the assumption that eyeballing ingredient quantities will suffice; however, this often leads to varying textures and flavors, which can be especially problematic in baking where precision is key.
When measuring dry ingredients, it is important to use the right tools. Measuring cups and spoons designed specifically for dry ingredients are readily available and should be used whenever a recipe calls for measurements by the cup, tablespoon, or teaspoon. These tools, when used correctly, help in obtaining the correct volume of ingredients like flour, sugar, and spices.
The technique used to fill measuring tools also impacts accuracy. The "spoon and level" method is widely recommended for ingredients like flour. One spoons the flour into the measuring cup until it is overflowing, and then uses a straight edge to level it off. This approach helps to avoid packing the ingredient too densely, an error that can result from scooping directly from the container, which can result in using more ingredient than the recipe actually calls for.
Importance of Accurate Measurements

Accurate measurement of dry ingredients is critical to ensuring consistency in baking and precision for recipe success. Even slight deviations can lead to unexpected and often undesired outcomes in the final product.
Consistency in Baking
In baking, consistency is synonymous with reliability. Each ingredient plays a specific role: flour provides structure, sugar adds sweetness and can affect texture, and leavening agents, like baking powder, contribute to rise. When measurements are inaccurate, bakers may face cakes that are too dense, bread that fails to rise, or cookies that are too hard.
For example, measuring flour should be done with care:
Spoon the flour into the measuring cup.
Level off with a straight-edge, avoiding packing the flour down.
Using these steps each time ensures that the same amount of flour is used in every batch, supporting the baker's aim for consistent results.
Precision for Recipe Success
Recipes are formulas that require precision. The balance of flavors can be significantly impacted by imprecise measurements of ingredients like salt or spices, where even a small excess can overpower other flavors.
Consider the preciseness necessary with ingredients like baking powder or soda:
Exact amounts are necessary to avoid under or over leavening.
Spoons must be level to ensure the expected chemical reaction.
By strictly following measurements, bakers can replicate recipes successfully, yielding the anticipated flavor and texture every time.
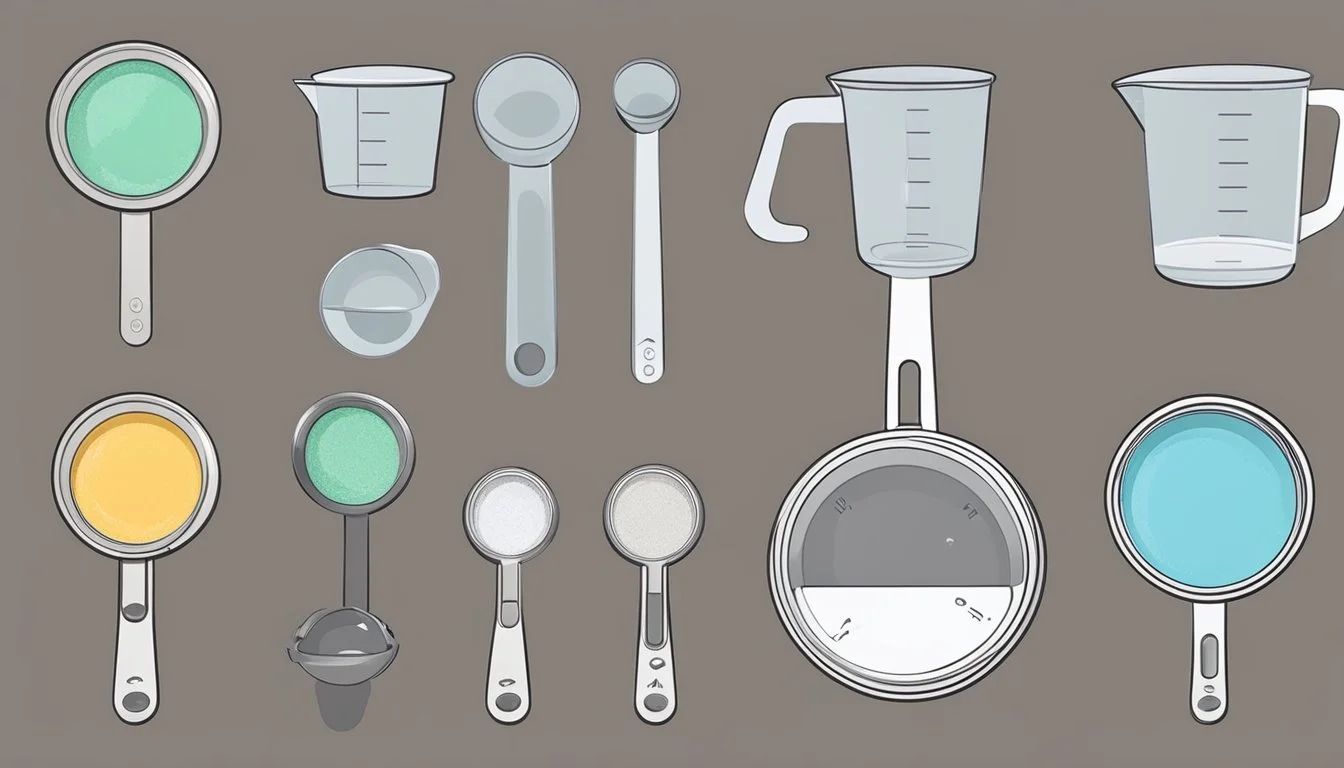
Types of Measuring Tools
When measuring dry ingredients in baking and cooking, precision is crucial. Different types of measuring tools are designed for specific tasks to ensure the accuracy of your ingredients, which could be the difference between a recipe's success or failure.
Dry Measuring Cups
Dry measuring cups are a set of cups with units ranging typically from 1/4 cup to 1 cup. They are designed to measure dry ingredients by being filled to the top and leveled off with a flat edge. Most sets are made of plastic or metal and can be used for ingredients like flour, sugar, and grains.
Liquid Measuring Cups
Liquid measuring cups differ from their dry counterparts in design; they are usually made of glass or clear plastic and have a spout for pouring. These cups display measurements on the side for accuracy and are intended to measure liquid ingredients such as water, milk, or oil. One should measure liquid at eye level to ensure the meniscus, the curve at the surface of the liquid, aligns with the desired measurement line.
Measuring Spoons
Measuring spoons typically come in a set, including sizes from 1/4 teaspoon to 1 tablespoon. These tools are useful for measuring smaller quantities of both dry and liquid ingredients. For accuracy, ingredients should fill the spoon without heaping, and any excess should be swiped off to level the measurement.
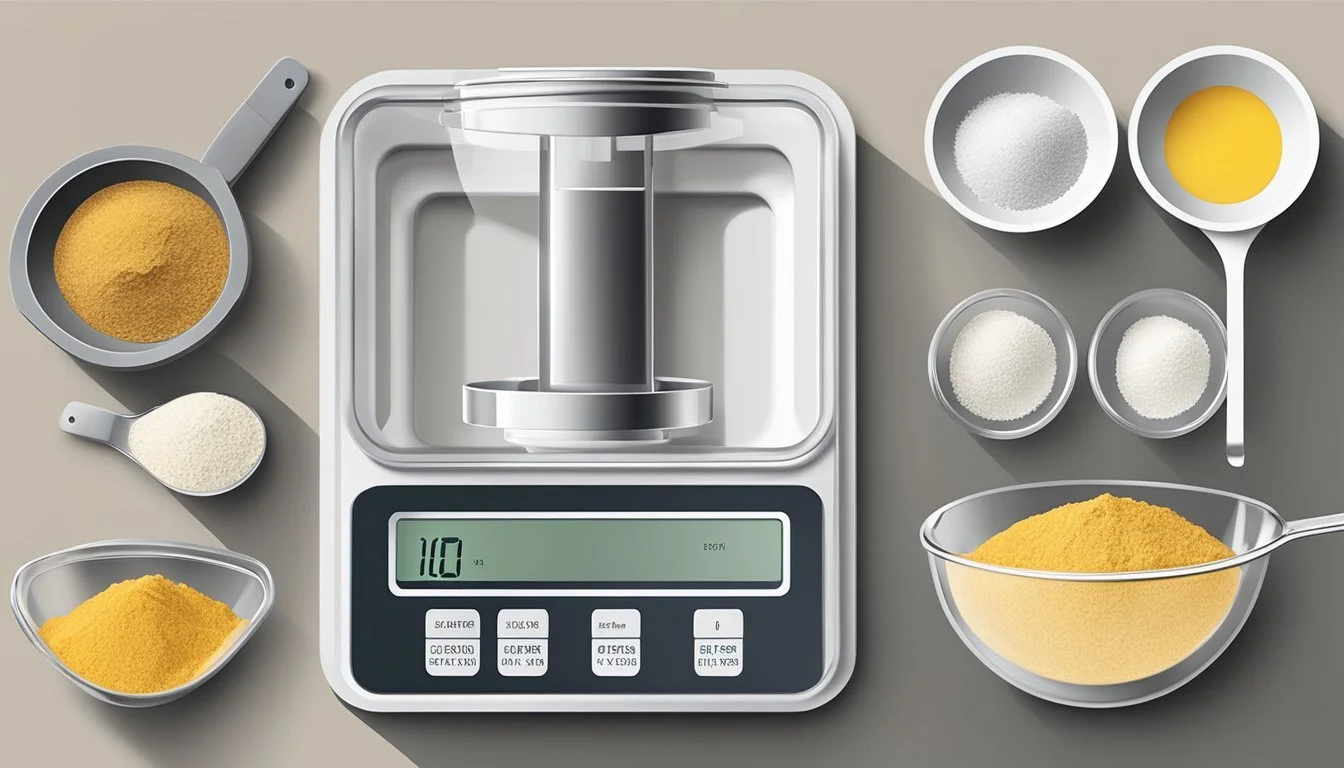
Kitchen Scales
Kitchen scales, especially digital kitchen scales, are highly precise tools for measuring ingredients by weight—an increasingly preferred method in many recipes. These scales often feature a "tare" function which allows the user to reset the displayed weight after adding each ingredient. They are necessary for ingredients that can settle or compress, such as all-purpose flour, where volume measurements may be inconsistent.
Measurement Techniques
Accurate measurement of ingredients is essential for the success of a recipe, especially in baking where precision counts. It's important to use the correct tools and methods to ensure that measurements are as accurate as possible.
Measuring Dry Ingredients Properly
For ingredients like flour, sugar, and oats, the dip-and-sweep method is commonly used. To measure these dry ingredients, one should use a spoon to lightly fill a measuring cup and then use the back of a knife to level off the excess. This technique helps to avoid packing the ingredients too densely and ensures a more accurate measurement. Here's a step-by-step guide:
Fluff up the flour before measuring.
Gently spoon it into the measuring cup until overflowing.
Level the surface with a straight edge, like the back of a knife.
Sugar can be scooped directly with the cup, but should also be leveled off. When measuring ingredients like brown sugar which is often packed, press it into the cup firmly until it holds the cup's shape when inverted.
Dealing with Sticky Ingredients
Sticky ingredients, such as peanut butter, honey, and molasses, require a slightly different approach due to their tendency to cling to the measuring tool. Coat the measuring cup or spoon with a thin layer of cooking oil or non-stick spray to make the ingredient slide out easily. Alternatively, if measuring by volume:
For tablespoons or teaspoons, dip the spoon into the ingredient and use a spatula or another spoon to push it off into the mixing bowl.
For cups, fill and then use a flexible spatula to scrape out the measured ingredient thoroughly.
Leveling Techniques
The correct leveling of ingredients ensures that one does not add more or less than the recipe requires. After filling a measuring cup with a dry ingredient, use the flat edge of a knife or a straight-edged spatula to sweep across the top, removing the excess for a level measure. This method is crucial for ingredients where precise amounts matter, like baking powder or baking soda. Here's how to do it:
Fill your measure slightly over the rim.
Sweep a knife or spatula across the top to remove the surplus.
Avoid shaking or tapping the cup, as this can change the ingredient's volume.
Implementing these measurement techniques will help ensure that recipes turn out as intended, every time.
Conversion and Equivalents
Accurate measurement of dry ingredients requires an understanding of different units and conversion between them. It's essential for the consistency and success of the recipe being prepared.
Volume vs. Weight
Converting between volume and weight can be challenging because ingredients have different densities. Volume measures the space an ingredient occupies, while weight measures the gravitational force exerted on that ingredient. For example, 1 cup of all-purpose flour typically weighs around 4.25 ounces, but this can vary based on the flour's density and how it's packed. It's crucial to know that fluid ounces are a measure of volume, not weight, and should not be confused with the avoirdupois ounce, a unit of weight.
Metric and Imperial Units
The two main measurement systems used in cooking are the metric system and the imperial system. The metric system, which includes grams and liters, is based on units of ten for straightforward scaling. The imperial system includes ounces, pints, quarts, and gallons. Here's a brief conversion chart:
Imperial Unit Metric Equivalent 1 tablespoon 14.79 milliliters 1 fluid ounce 29.57 milliliters 1 cup 237 milliliters 1 pint 473 milliliters 1 quart 946 milliliters 1 gallon 3.785 liters
For dry ingredients, common measurement conversions within the imperial system include:
3 teaspoons = 1 tablespoon or 1/2 fluid ounce
2 tablespoons = 1/8 cup or 1 fluid ounce
8 tablespoons = 1/2 cup or 4 fluid ounces or 1/4 pint
When following a recipe, one should use the appropriate units of volume for liquids and weight for dry ingredients to ensure accuracy. A proper conversion chart is a valuable tool in any kitchen to help make these conversions as needed.
Using Ingredients Effectively
When measuring dry ingredients for baking, precision is crucial. Ensuring the correct temperature and texture of ingredients can significantly affect the final product.
Importance of Ingredient Temperature
Temperature plays a vital role in the behavior of baking ingredients. For instance, all-purpose flour, bread flour, and cake flour perform best when used at room temperature, as cold flour can absorb liquids differently, potentially affecting consistency. Ingredients like baking powder, baking soda, and yeast are sensitive to temperature, which can impact their leavening effectiveness. It is recommended to store these ingredients in a cool, dry place to maintain their potency.
Room Temperature Dry Ingredients: Ensures consistent absorption of liquids.
Sifting Dry Ingredients
Sifting is a key process in baking that aerates the dry ingredients, resulting in a lighter, more uniform composition. Sifted flour is particularly important because it removes any lumps and helps to mix the flour thoroughly with other dry ingredients such as cocoa powder, baking powder, and baking soda. Sifting also helps to evenly distribute these leavening agents, preventing uneven rise in baked goods.
Benefits of Sifting: Fluffier texture, consistent mixing, and elimination of lumps.
Dry Ingredient Reason for Sifting All-Purpose Flour Removes lumps; achieves consistent texture. Cocoa Powder Combines evenly with other dry ingredients. Baking Agents Ensures even distribution and effectiveness.
By paying attention to the temperature and texture of dry ingredients, bakers can use them more effectively to achieve better results in their baking endeavors.
Common Baking Measurements
Accurate measurements are critical in baking, as even slight deviations can alter the results. Consistency is achieved through the use of standardized baking measurements.
Standard Baking Ingredient Measurements
Flour: All-purpose flour should be spooned into the measuring cup and leveled with a knife for precision, avoiding compaction which can lead to excess.
1 cup all-purpose flour = 120 grams
Sugar: Granulated sugar can be scooped and leveled as its crystals are less likely to compact.
1 cup granulated sugar = 200 grams
Brown Sugar: Should be packed into the measuring cup to ensure it holds its shape when inverted.
1 cup packed brown sugar = 220 grams
Cocoa Powder: Like flour, should be spooned and leveled to avoid overpacking.
1 cup cocoa powder = 100 grams
Baking Powder/Baking Soda: Requires a measuring spoon, filled and leveled off for an accurate teaspoon or tablespoon.
Butter: Often packaged with tablespoon and cup markings for ease of cutting the exact amount needed. Room temperature butter should still be firm.
1 cup butter = 227 grams
Solid Add-Ins (Chocolate Chips, Nuts, Chopped Fruit): Standard measurements assume a gentle scoop and level approach, without packing down.
1 cup chocolate chips = 150 to 170 grams
1 cup chopped nuts = 120 to 150 grams
1 cup chopped fruit = Varies greatly depending on the fruit's water content and size
Loose Add-Ins (Shredded Coconut, Cornmeal): These lighter ingredients should also be measured with the spoon and level technique.
1 cup shredded coconut = 85 grams
1 cup cornmeal = 160 grams
Chocolate: For chocolate bars that need to be broken into pieces, a kitchen scale is recommended for measuring the weight precisely.
Using measuring cups and spoons specifically designed for dry ingredients and employing a scale for weight measurements ensures a higher level of accuracy in baking recipes.
Advanced Measuring Tips
Consistency in measurement is a cornerstone for successful baking, especially in recipes that require precision. The following tips dive deep into the nuances of measuring ingredients for those specialty recipes that demand a higher level of accuracy.
Measuring for Specialty Recipes
When baking recipes such as macarons, where the margin for error is minimal, it’s crucial to adhere to specific techniques. Test kitchens often recommend:
Digital Scales: Their precision outperforms traditional measuring cups. A scale measures to the gram, which is indispensable for recipes requiring fine-tuned ratios like macarons. They also advise using the tare function to reset the weight after each ingredient is added.
Spoon & Level Method: An alternative when scales are unavailable. One should spoon the dry ingredient into the measuring cup and level it off with a flat edge. This prevents the packing of ingredients which could lead to inconsistencies.
Consistent Measuring Tools: It's imperative to use the same set of measuring cups and spoons throughout a recipe to maintain consistency.
Sift Then Measure: Certain ingredients like powdered sugar or flour should be sifted before measuring to break up lumps and aerate, which can impact the final measurement.
For complex recipes, a video tutorial can provide a visual guide on the correct measuring techniques. It allows one to see the exact process, reducing the likelihood of mismeasurement.
The key to precise measurements lies in the attention to detail: ensuring that each cup or spoonful is measured consistently every time. By doing so, bakers will ensure that their specialty baking recipes, like those for delicate macarons, will turn out as intended each time they step into the kitchen.
Troubleshooting Measuring Issues
When baking, accurate measurement of ingredients is critical for the intended outcome. Missteps in measuring can lead to inconsistent textures and flavors.
Common Measuring Mistakes and Solutions
Inaccurate Measuring Cups and Spoons: Not all measuring tools are created equal. In some cases, measuring cups and spoons may not adhere to standard sizes.
Solution: Verify the accuracy of measuring tools by comparing them with a kitchen scale. Investing in a quality set of measuring cups and spoons helps avoid discrepancies.
Packing Dry Ingredients: Ingredients like brown sugar or flour can become packed down, resulting in more of the ingredient being used than the recipe requires.
Solution: Fluff up the flour with a spoon before spooning it into a measuring cup and leveling off with a straight edge. In the case of brown sugar, unless the recipe specifies to pack the sugar, spoon it in lightly and level off.
Scooping from the Bag: Dipping the measuring cup directly into the flour bag can compress the flour, leading to over-measurement.
Solution: Spoon flour into the measuring cup to avoid compressing the ingredient. Use a level to scrape off the excess for a precise measure.
Not Zeroing the Scale: When using a digital scale, not setting it back to zero before adding the next ingredient can aggregate the weights and lead to inaccurate measurements.
Solution: Always hit the “tare” or “zero” button on the digital scale before adding each ingredient to ensure only the added ingredient's weight is measured.
Improper Conversion Between Units: Misinterpretation of measurement units can result in significant discrepancies in the quantity used.
Solution: Keep an accurate and reliable conversion chart handy for when a recipe calls for different units. Double-check conversions when scaling a recipe up or down.
By addressing common measuring issues and their solutions, one ensures that measuring ingredients is done accurately, leading to better baking results.
Essential Measuring Reference
In the quest for baking precision, the cook's arsenal must include tools that promise accuracy. Measuring cups and spoons become indispensable, allowing one to replicate recipes reliably.
Creating a Measuring Reference Guide
A thoughtfully assembled measuring reference guide serves as an invaluable tool for any baker or chef. Measuring cups are typically used for larger volume ingredients and come in a set that may include 1 cup, 1/2 cup, 1/3 cup, and 1/4 cup options. Measuring spoons often come in a set with sizes from 1 tablespoon down to 1/4 teaspoon, and sometimes even 1/8 teaspoon.
Tablespoons and teaspoons are units of volume measurements predominantly used in cooking to measure smaller quantities of ingredients. The standard conversions are crucial:
1 tablespoon = 3 teaspoons
1 cup = 16 tablespoons
Tare function is an essential feature when using a kitchen scale, allowing the user to subtract the weight of the container and measure the ingredient's net weight. Utilizing a kitchen scale with a tare function is recommended for measuring by weight, which is often more accurate than measuring by volume.
Keeping Your Tools in Top Shape
Proper maintenance and care ensure the longevity and accuracy of measuring tools. The section below elaborates on the specifics of maintaining these essential kitchen tools.
Maintenance and Care of Measuring Tools
Cleaning: After each use, measuring tools should be thoroughly washed to remove any residue. Tools made of plastic or metal can generally be cleaned in the dishwasher, unless the manufacturer specifies otherwise. For items that are not dishwasher-safe, warm soapy water and a gentle sponge will do the trick. It's crucial that they are dried completely to prevent rust or deterioration, especially for metal tools.
Hand wash: non-dishwasher-safe tools
Dishwasher: if permissible, for convenience and a deeper clean
Care: Measuring tools should be stored in a dry place to avoid any potential damage from humidity. If stacking cups or spoons is necessary due to space constraints, ensure they are completely dry to prevent them from sticking together. For tools with moving parts, such as adjustable measuring cups, regular checks should be done to ensure they glide smoothly. A touch of cooking oil can help maintain the ease of adjustment.
Storage: in a dry area
Checks: moving parts for smooth operation
Maintenance: Periodically inspect measuring tools for signs of wear and tear. Cups and spoons should remain free of dents and warps that could compromise measurement accuracy. Replace tools that show significant damage or have become misshapen.
Inspect: for dents, warps, or other damages
Replace: when the accuracy is compromised
When using non-stick cooking spray, it is advisable to avoid direct application onto measuring tools as the buildup can be challenging to remove and may affect future measurements. Instead, lightly coat the ingredient itself or use a pastry brush to apply a thin layer if necessary.
Avoid: spraying directly onto tools
Alternative: brush on a thin layer when needed
By following these maintenance and care guidelines, one's measuring tools can remain reliable and precise, making every measurement count in the culinary creations.
Innovations in Measuring Technology

Advancements in measuring technology have transformed the way cooks approach ingredient precision, particularly with the adoption of digital tools.
Digital vs. Traditional Measuring Tools
Digital scales represent a significant leap in kitchen technology, providing cooks with an unprecedented level of accuracy for both dry and wet ingredients. A digital scale can offer precision down to small fractions of a gram, and with a "tare" function, it allows for continuous weighing within the same bowl. This contrasts with traditional cups and spoons, which are less accurate due to variables such as ingredient packing density and volume inconsistencies.
Traditional Measuring Tools
Susceptible to human error in leveling and scooping
Standard measures may vary between tool sets
Digital Scales
Offer exact measurements, critical for baking
Feature user-friendly interfaces and units conversion
The design and capabilities of digital scales incorporate intuitive technology that guides users through correct measuring practices. Innovations within these devices frequently include easy-to-clean surfaces, backlit displays for improved visibility, and connectivity to apps for recipe assistance, exemplifying the integration of technology into everyday kitchen practices.
Digital measuring tools have fostered a more methodical approach to cooking and baking, where precision is paramount. As technology continues to advance, the gap between professional and home kitchens narrows, offering home cooks tools that enhance accuracy and consistency in their culinary endeavors.
